Mealtime with babies and toddlers is often a delightful mess. But fear not, a homemade bib is here to the rescue! Not only are they practical for catching spills and splatters, but crafting your own bibs allows you to add a personal touch, choose fun fabrics, and save money. How do you make a homemade bib? Let’s delve into the world of bib-making and discover how to create adorable and functional bibs for your little one.
Why Choose Homemade Bibs?
Before we start sewing, let’s explore the benefits of homemade bibs:
Customization
You control the fabric, pattern, and size, creating bibs that perfectly match your child’s personality and needs.
Unique Designs
Make bibs that stand out from store-bought options with fun fabrics and creative embellishments.
Cost-Effective
Homemade bibs are often more affordable than buying multiple store-bought ones.
Eco-Friendly
Upcycle old fabrics or use scraps, reducing waste and promoting sustainability.
Thoughtful Gifts
Handmade bibs make heartfelt gifts for baby showers and new parents.
Gathering Your Bib-Making Supplies
Here’s what you’ll need to create your own bibs:
- Fabric: Choose absorbent fabrics like cotton terry cloth, flannel, or even upcycled towels.
- Pattern: You can find free bib patterns online or create your own simple template.
- Scissors: Sharp fabric scissors ensure clean cuts.
- Pins or Clips: These hold your fabric layers in place while sewing.
- Sewing Machine or Needle and Thread: Choose your preferred sewing method.
- Fasteners: Snaps, Velcro, or ties are common bib closure options.
- Optional: Bias binding, ribbon, decorative fabric scraps for embellishments.
Step-by-Step Guide to Making a Homemade Bib
Now, let’s get crafty! Follow these simple steps:
- Choose Your Pattern: Select or create a bib pattern that suits your needs. Consider the size, shape, and coverage you desire.
- Cut Fabric: Lay out your fabric and pin the pattern to it. Cut two pieces of fabric according to the pattern, one for the front and one for the back.
- Optional: Add a Waterproof Layer: If desired, cut a piece of waterproof fabric (like PUL) slightly smaller than the bib pieces. Sandwich it between the front and back layers.
- Sew the Layers Together: Place the front and back pieces right sides together. Sew around the edges, leaving a small opening for turning.
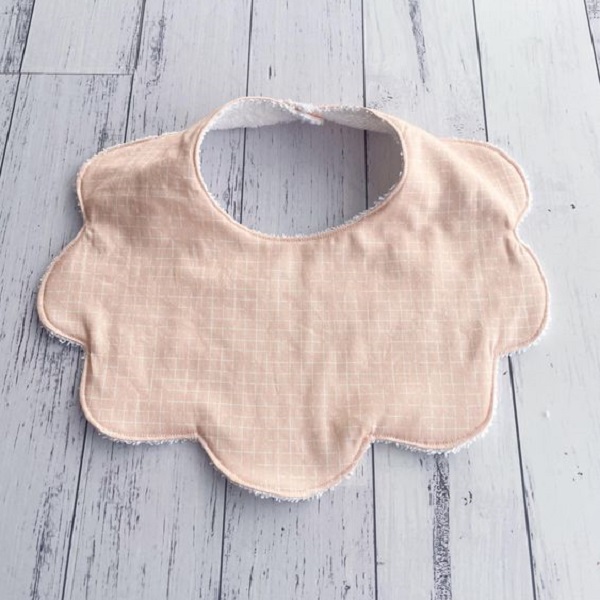
- Turn and Topstitch: Turn the bib right side out through the opening. Press the edges flat and topstitch all around to close the opening and give it a finished look.
- Attach Fasteners: Sew on snaps, Velcro, or ties to the bib’s neck closure.
Design Tips and Embellishment Ideas
How do you make a homemade bib? Make your bibs unique with these creative ideas:
- Appliqué: Add fun shapes or characters to the bib using fabric scraps.
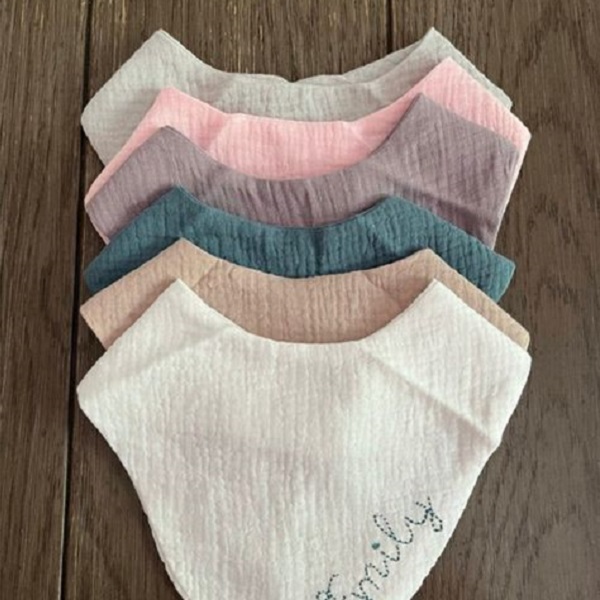
- Embroidery: Embroider your child’s name or a cute design onto the bib.
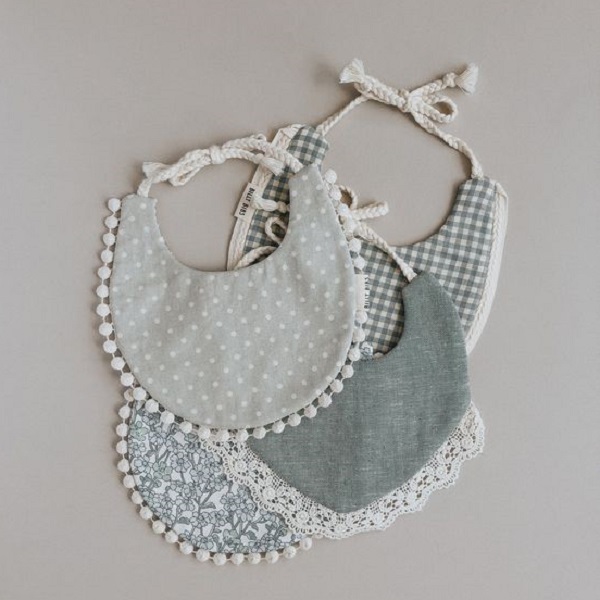
- Ribbon Trim: Sew ribbon around the edges for a touch of color and style.
- Bias Binding: Finish the edges with bias binding for a polished look.
- Contrasting Fabrics: Use different fabrics for the front and back of the bib.
Bib Maintenance Tips
To keep your homemade bibs in tip-top shape:
- Wash Regularly: Toss them in the washing machine with similar colors.
- Pre-Treat Stains: Use a stain remover before washing for stubborn stains.
- Air Dry or Tumble Dry Low: High heat can damage the fabric.
- Iron (Optional): Iron on low heat if desired.
Crafting homemade bibs is a rewarding and practical way to protect your child’s clothes during mealtime. By choosing fun fabrics, adding personal touches, and following simple steps, you can create bibs that are both functional and fashionable. Embrace the creative process and enjoy the satisfaction of seeing your little one wear your handmade creations!
Sizing and Fit Considerations
As your child grows, so too will their bib needs. Here’s how to ensure a good fit:
- Newborn Bibs: Opt for smaller, simpler bibs with soft, absorbent materials.
- Infant Bibs: Choose bibs with wider coverage and a secure neck closure.
- Toddler Bibs: Larger bibs with a pocket to catch crumbs are ideal for messy eaters.
- Adjustable Closures: Snaps or Velcro allow you to adjust the fit as your child grows.
Bib Materials: What’s Best for Your Baby?
Different fabrics offer different benefits:
- Terry Cloth: Highly absorbent and soft on delicate skin.
- Flannel: Warm and cozy, perfect for cooler months.
- Quilted Cotton: Adds an extra layer of absorbency and durability.
- Organic Cotton: A great choice for sensitive skin.
- Waterproof PUL: Ideal for creating a barrier against spills and stains.
Beyond the Basics: Bib Variations
Get creative with your bib designs and experiment with these variations:
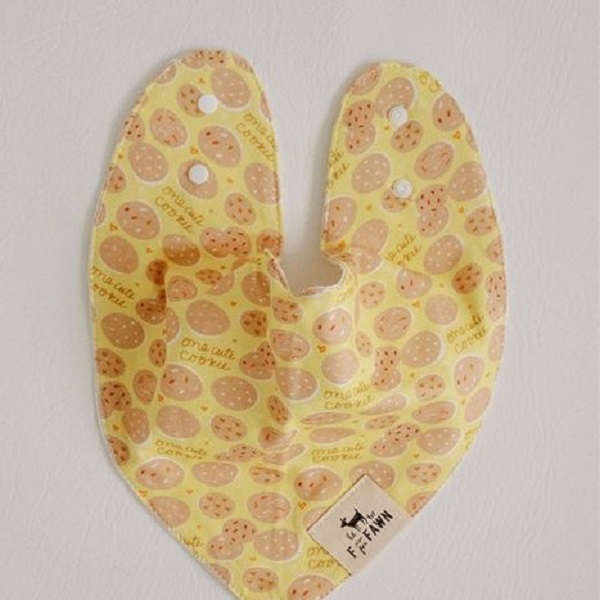
- Bandana Bibs: Stylish and trendy, bandana bibs are made from a single layer of fabric and tied around the neck.
- Long-Sleeved Bibs: For super messy eaters, long-sleeved bibs offer full coverage.
- Reversible Bibs: Make bibs with two different fabrics for versatility and a fun twist.
- Holiday-Themed Bibs: Create festive bibs for special occasions like Thanksgiving or Christmas.
DIY Bibs as a Group Activity
Bib-making isn’t just for parents! It can be a fun and rewarding activity for groups.
- Baby Shower Craft: Invite friends and family to make bibs for the mom-to-be.
- Sewing Circle Project: Gather fellow sewing enthusiasts for a bib-making party.
- School Fundraiser: Make and sell bibs to raise money for your school or organization.
Troubleshooting Bib Woes
Here are some common bib challenges and solutions:
- Bib Doesn’t Stay Put: Ensure the neck closure is secure and adjustable.
- Bib Gets Soggy: Use a more absorbent fabric or add a waterproof layer.
- Bib Irritates Skin: Choose soft, natural fabrics and avoid rough textures.
- Bib Stains Easily: Pre-treat stains before washing and use a gentle detergent.
Making your own bibs is a sustainable choice. By upcycling materials and reducing waste, you’re contributing to a healthier planet. Plus, homemade bibs are often more durable than their mass-produced counterparts, meaning they’ll last longer and won’t end up in a landfill as quickly.
The Enduring Legacy of Homemade Bibs
Homemade bibs are more than just practical accessories; they’re a labor of love. They hold memories of messy meals, happy giggles, and treasured moments with your little one.
So whether you’re a seasoned seamstress or a beginner crafter, grab your fabric and let your creativity flow. The bibs you create will not only protect your child’s clothes but also become cherished keepsakes that remind you of this precious time in their lives.
Personalizing Your Bibs: A Touch of Sentimentality
Add a special touch to your homemade bibs with these personalization ideas:
- Monograms: Embroider your child’s initials for a classic touch.
- Names: Sew or embroider their name in a playful font.
- Nicknames: Add a special nickname that only you and your child share.
- Birthdate or Special Date: Commemorate a special occasion with a date on the bib.
- Inspirational Quote: Add a motivational or funny quote for a touch of personality.
Bibs Beyond Babyhood: Practical Uses for Adults
Don’t limit bibs to just baby use! They can be handy for adults too:
- Craft Projects: Protect your clothes from paint, glue, or other messy materials.
- Cooking and Baking: Catch spills and splatters in the kitchen.
- Eating Messy Foods: Enjoy lobster, ribs, or spaghetti without worrying about staining your clothes.
- Gardening: Keep dirt and grime off your clothes while tending to your plants.
- Elderly Care: Bibs can be helpful for individuals with limited mobility or dexterity.
Conclusion: A Bib for Every Adventure
How do you make a homemade bib? Homemade bibs are more than just a practical solution for messy meals; they’re a canvas for creativity, a symbol of love, and a testament to the joy of DIY projects.
By following these tips and letting your imagination run wild, you can create bibs that are as unique and special as your little one. So grab your fabric and get sewing! The world of bib-making awaits, ready for you to leave your mark.